Danger on Android
A team I have been working with recently has grown to a big enough size that we decided to improve the pull request (PR) process with continuous integration (CI) by introducing Danger. We wanted to automate as many of the PR checks as possible to streamline the process.
Danger runs during your CI process, and gives teams the chance to automate common code review chores.
To start with I was looking to get more information into the PR itself. Sometimes the overhead to navigate to your CI tool to get build information can be frustrating. I wanted to create a report showing any failing tests, android lint issues or checkstyle errors.
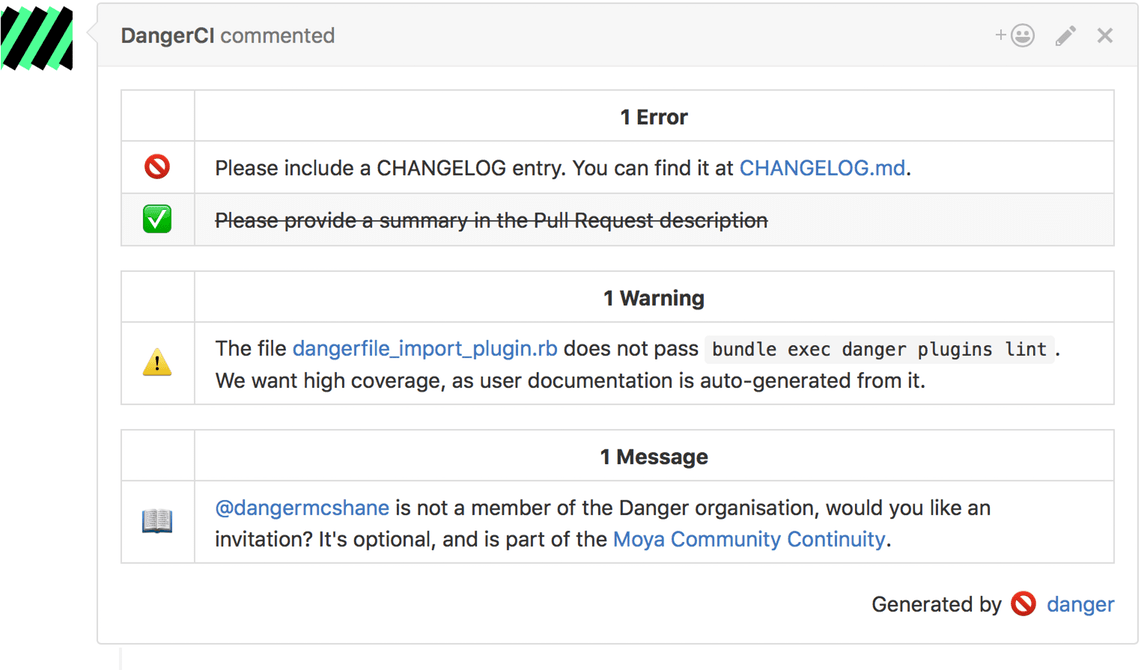
Danger allows you to automate common checks, and collate build output into a report that is left as a comment on a PR. This can be done using plugins, or written manually in the Dangerfile.
This is an example of the output that Danger can produce:

Getting started with Danger can be fairly simple, depending on where you host your repository, and what CI tool you use. I setup Danger to run on a Bitbucket repository using Bitrise CI. This combination proved slightly trickier than if I was using GitHub as Danger was built with first party support for GitHub.
Step 0 - Setup your environment
To run Danger you need:
If you don’t have either of these installed and setup do that now.
Step 1 - Create your Gemfile
Run bundler init in the root of your project to create a Gemfile.
Add the danger gem to the Gemfile.
gem 'danger'
The gemfile is used by Ruby to declare a list of dependencies. This is where we will add our plugins to Danger.
Step 2 - Install Danger
Install the Danger gem.
bundle install
Step 3 - Create a Dangerfile
Create a file called Dangerfile in the root of your project.
To start with, add a git check to the Dangerfile. This gives a warning if your PR has > 500 line changes.
warn("Big PR") if git.lines_of_code > 500
Step 4 - Integrate with CI
This step is a guide to integrating with Bitrise.
Add a Script step to your workflow after your gradle build has completed:

#!/usr/bin/env bash
# fail if any commands fails
set -e
# debug log
set -x

ghprbPullId=${PULL_REQUEST_ID}
bundle install
bundle exec danger
This installs Danger, and executes it. Executing danger will run your Dangerfile and output a report as a comment on the PR.
ghprbPullId - I had issues using the bitbucket cloud integration which was fixed by adding this.
To run this locally you can run
bundle exec danger prhowever this currently only supports GitHub repositories.
Add your bitbucket credentials as environment variables:
DANGER_BITBUCKETCLOUD_USERNAME
DANGER_BITBUCKETCLOUD_PASSWORD
I would suggest you create a new user in Bitbucket for integration with your CI system. This means you can set a sensible name and avatar to make it clearer what is commenting on their PR.
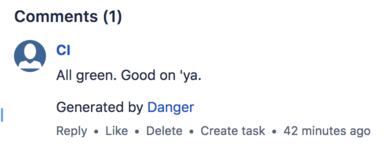
At this point, assuming you have PR triggers set up in Bitrise, you should be able to create a PR in Bitbucket and get Danger output as a comment. As the PR will be small you should receive your first ‘All green’ message from Danger!

Step 5 - JUnit
Add gem 'danger-junit' to your Gemfile
Add the following to your Dangerfile
junit_tests_dir = "**/test-results/**/*.xml"
Dir[junit_tests_dir].each do |file_name|
  junit.parse file_name
  junit.report
end
This section processes each of the JUnit report XML files. As I was working on a multi module project the wildcard search finds all the applicable JUnit test reports to process.
Step 6 - Android Lint
Add gem 'danger-android_lint' to your Gemfile
Add the following to your Dangerfile
lint_dir = "**/reports/lint-results.xml"
Dir[lint_dir].each do |file_name|
  android_lint.skip_gradle_task = true
  android_lint.filtering = true
  android_lint.report_file = file_name
  android_lint.lint
end
This will update the report based on the output from your lint checks.
This requires the lint gradle task to be executed.
android_lint.filtering = true - only displays the lint result of files modified in the PR, this helps to reduce noise if you are working on a large project.
Step 7 - Checkstyle
If you are running checkstyle to maintain code formatting / code standards in your repository you can use this plugin to display checkstyle reports in your PR.
Add gem 'danger-checkstyle_format' to your Gemfile
Add the following to your Dangerfile
checkstyle_dir = "**/checkstyle/checkstyle.xml"
Dir[checkstyle_dir].each do |file_name|
  checkstyle_format.base_path = file_name
  checkstyle_format.report file_name
end
Again, as I am running a large multi module project I am iterating over the checkstyle output files from every module.
Outcome
Danger has provided us with useful output on PRs. We are aiming to improve our code quality in the long term so flagging up any new warnings using the lint checks is a great step forward. Also having access to failed test reports and checkstyle errors can open up discussions in PRs.
I’ve created gists showing the final Gemfile and Dangerfile:
gist:jonathonfry/ab631c5b4bd3a701484c5f67e6c448b4
gist:jonathonfry/00d5a7b24e1a5fb3b70044b85c858e6b
Challenges
Setting up Danger wasn’t all roses. I’ve listed some of the challenges faced introducing Danger to Bitbucket + Bitrise below.
Running locally
Unfortunately Danger doesn’t support running locally for Bitbucket repositories. I’ve cloned the Danger repository and am hopeful I’ll have some spare time to add this feature in a PR.
Currently you can only run danger locally with GitHub repositories:
bundle exec danger pr
Bitbucket token authorisation
Danger does not support bitbucket authentication with a token. I think this is a limitation of the Bitbucket API as you can’t access it using a token. Token access would be useful for security purposes allowing us to generate access tokens for specific use cases.
Future work
APK analyzer - Provide APK analysis including file size, permissions, and method count. You can see sample output from this plugin on GitHub here:

Track android app metrics - Emma Guy from Monzo has taken this one step further and used Danger to track historical change in APK metrics.